Vortex Shader in Amplify Shader
I recently created this Vortex Shader while playing around with some nodes. It has some values to play around with and costumize. I think its pretty nice for Magic Portals and such. I also added an option to add an Mask and even invert that mask, because sometimes
In the last month I had the opportunity to start working with Amplify Shader at work and at some point I just bought that amazing asset for myself. I really like that it is possible to create nice shaders with it even for the legacy render pipeline.
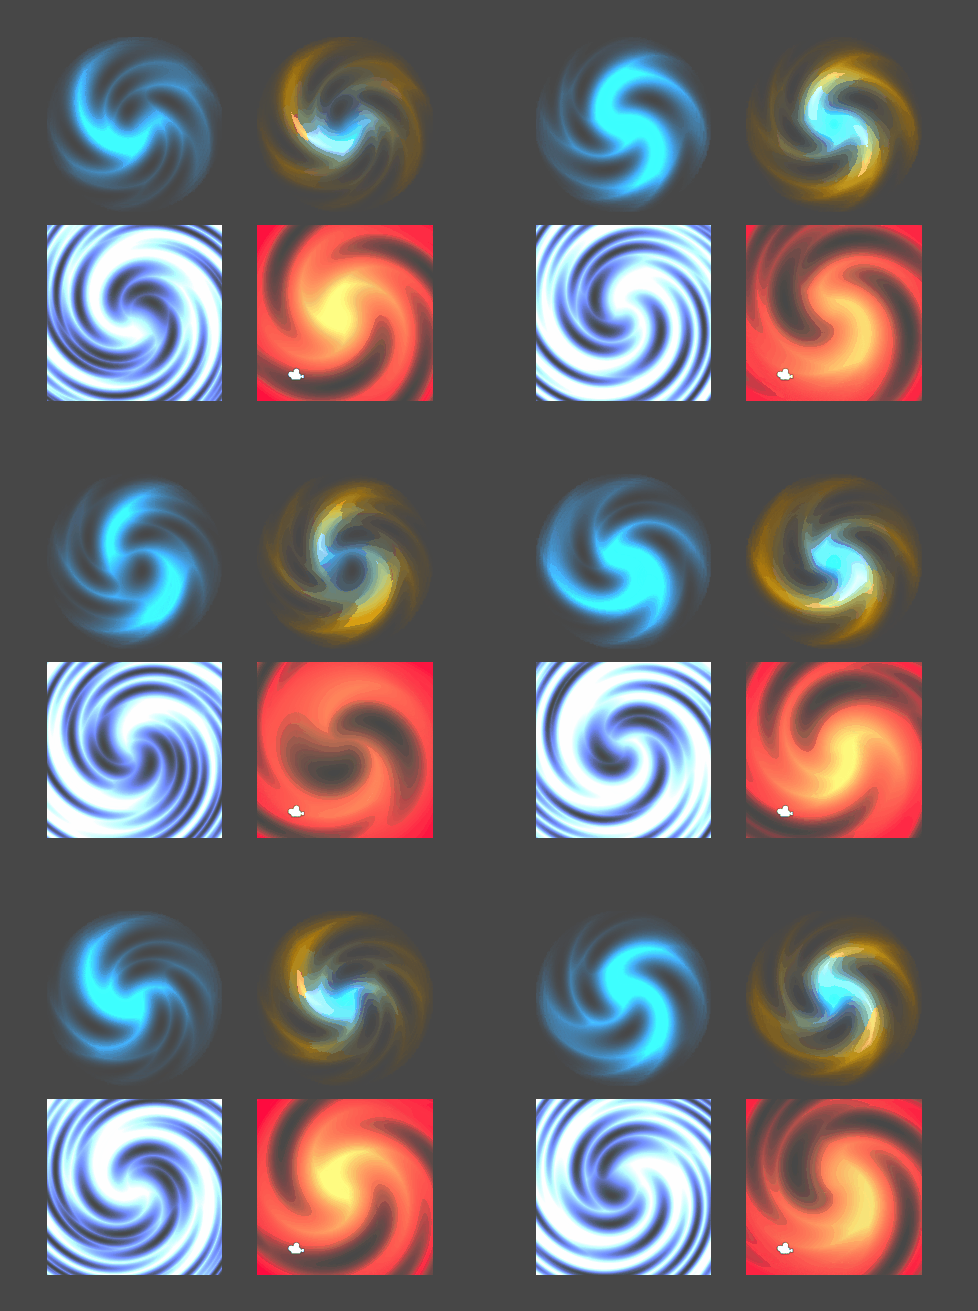
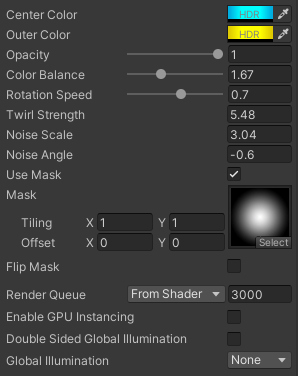
Lets create a new Amplify Shader 😀
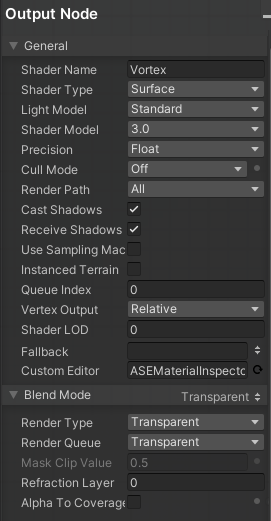
The first thing I do after creating a new Amplify Shader is changing the blend mode to transparent, and I also turn the Cull Mode off, because I want this effect visible from both sides, you can keep it on Back if you like, thats up to you.
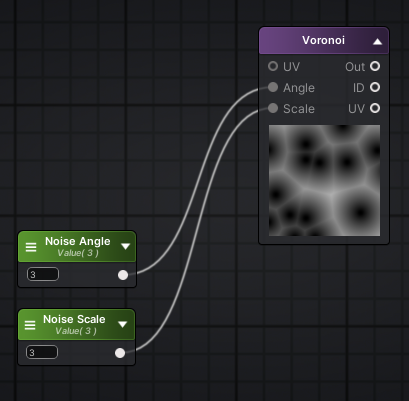
Good ol Voronoi Node is going to be my starting point. I add two Float properties for the Noise Scale and Angle.
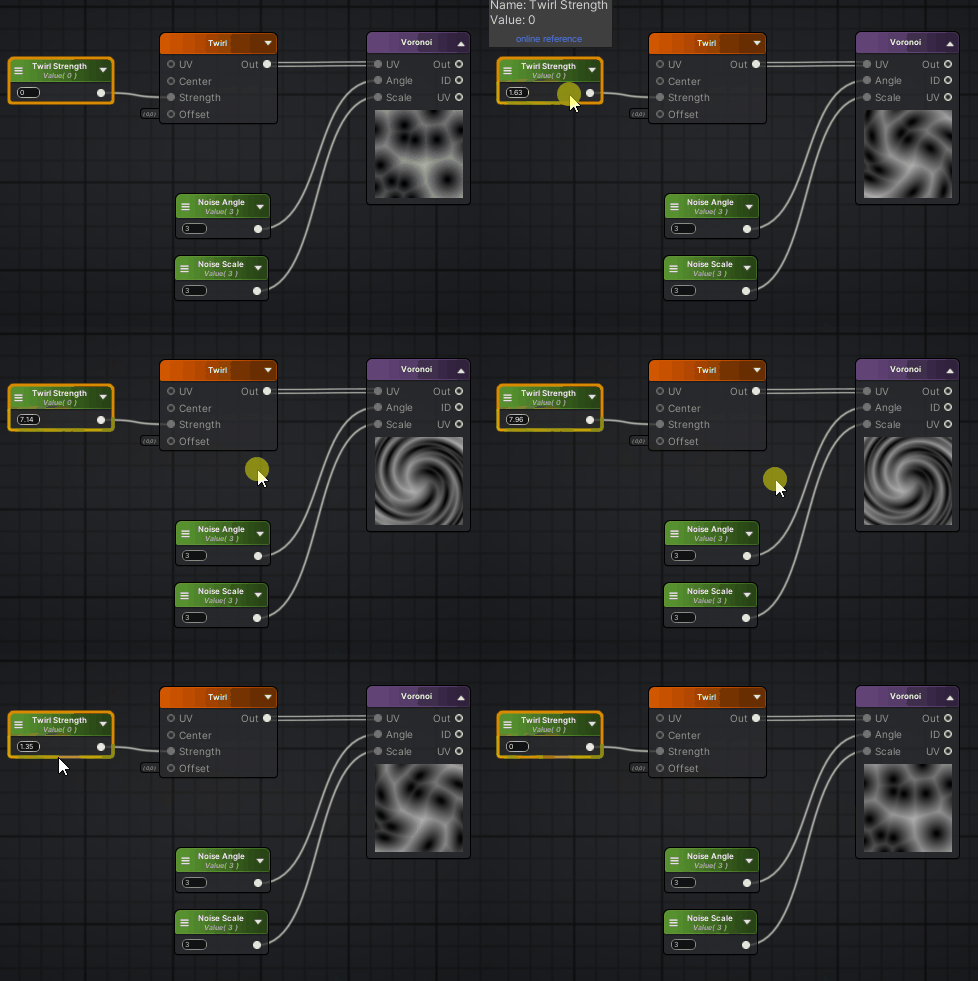
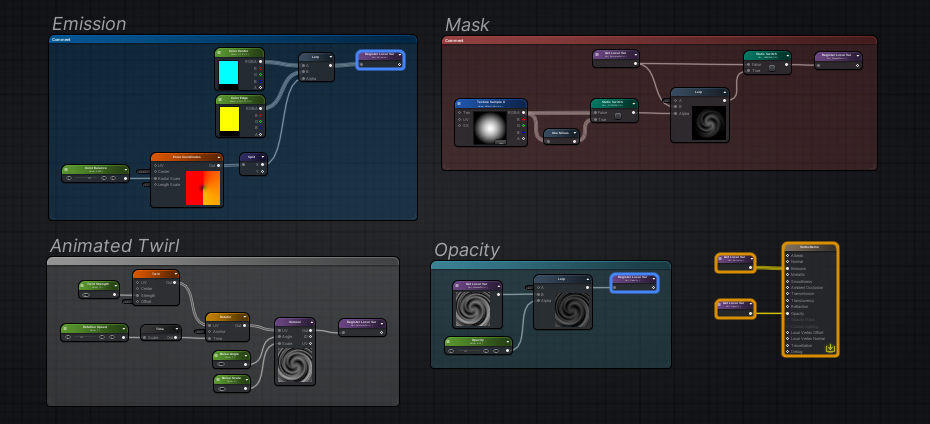
Now I add this Twirl Node, again directly connected to a float property, to be able to update it later from the editor and or code.
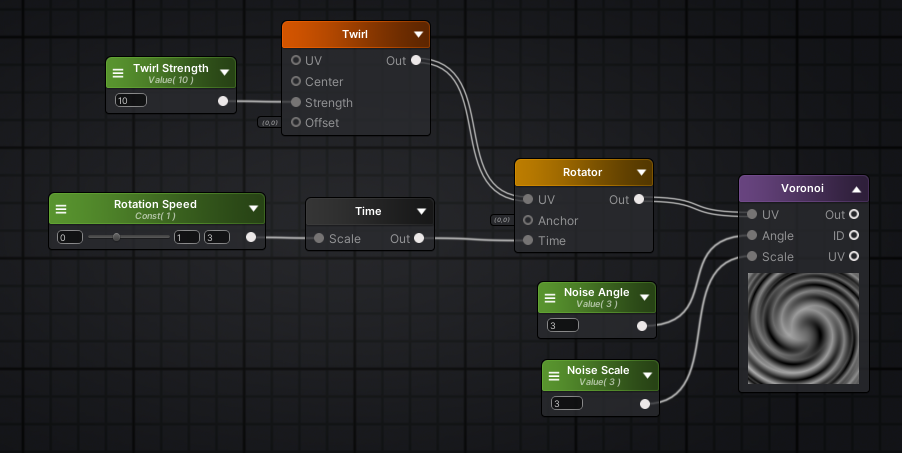
Next step would be to add an Rotator Node and manipulate that over time, again with a Float Property
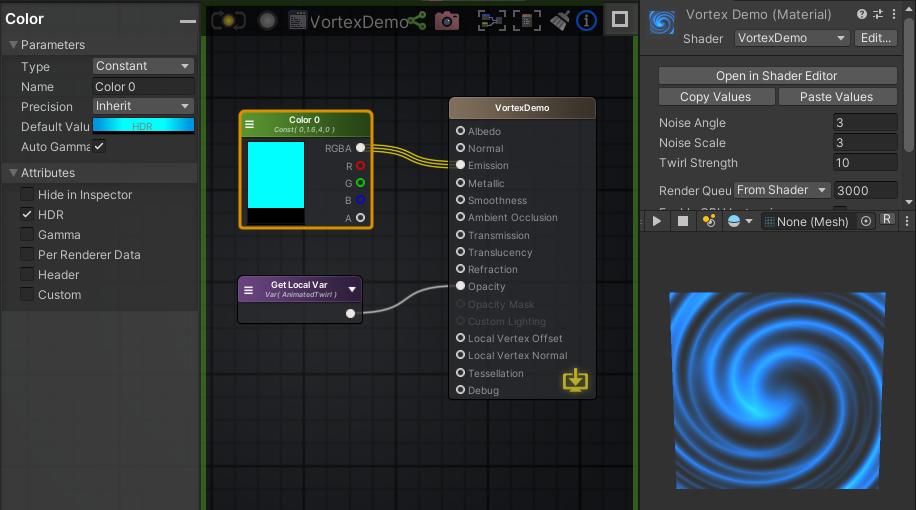
I register the output of the Voronoi Node to keep the editor tidy and output the variable into Opacity of the Shader Node. I also add a Color Variable, give it a HDR Attribute and plug it into Emission.
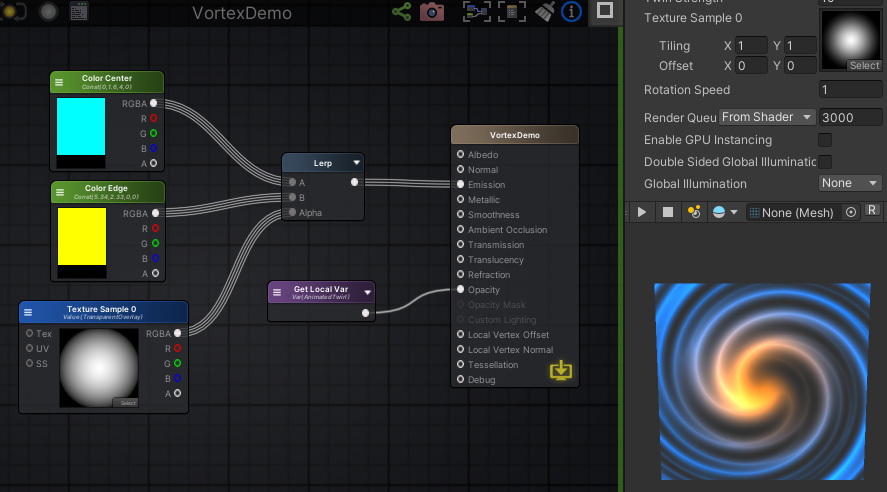
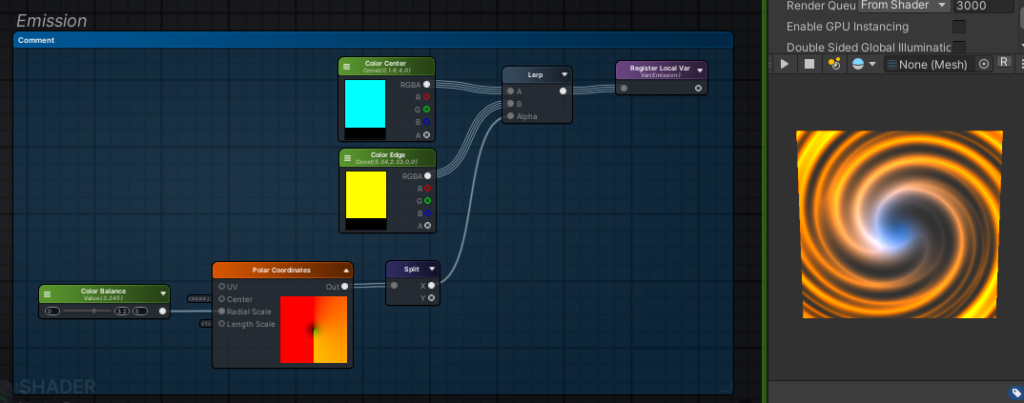
I like to have the possibility to have another color on the Edge than on the center, a simple solution would be to use a Lerp Node together with a simple Mask, and I guess that might be an alright solution. But its static and depends on different Texture Masks
Now, I must admit I am not entirely sure if there is a better solution, but this one works for me: I use a Polar Coordinate Node and manipulate the Radial Scale with a Range Slider and exchange the Texture Samlple with only the X output of the Polar Coordinate using a Split Node – because we dont want this Vertical line in our gradient.
The Mask part itself is easy:
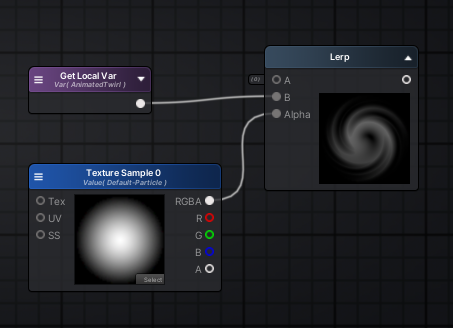
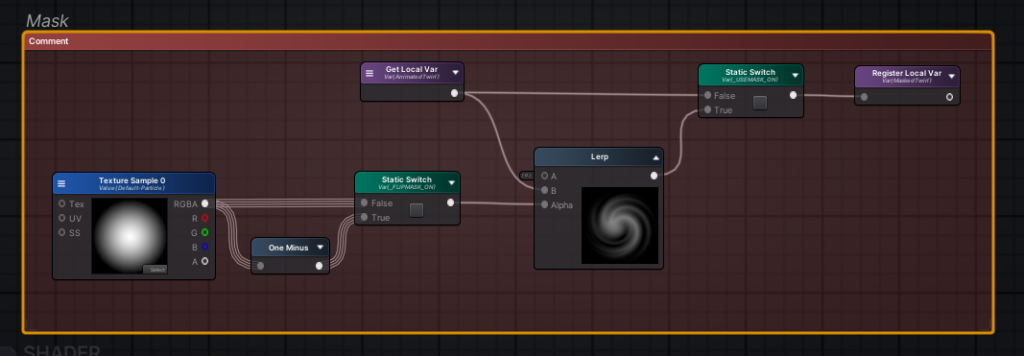
Adding some switch statements to turn mask off and on, and or flip it:
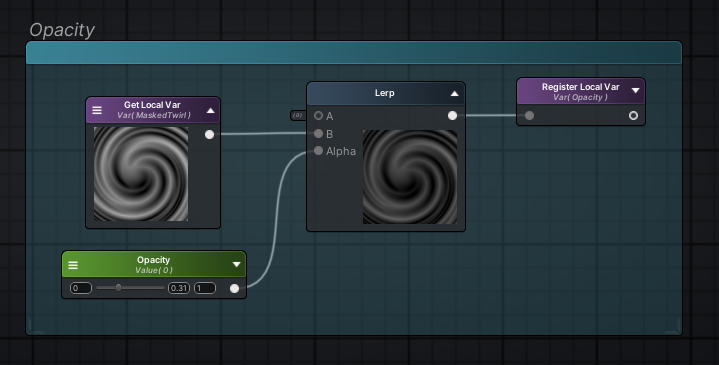
The last thing, I like to add is an overall Opacity value.
And that’s it!
Leave a Reply