Dynamic Label in Unity (Scripting Guide)
Get the (improved and complete) Script here: Gumroad or follow along for a working basic one 🙂
Dynamic labels are something that I constantly use on Unity UI. I have seen some solutions in which a coder somehow read out the length and returned it with math to the RectTransform, but fact is we do not need code to create a dynamic label – they actually are kinda simple to setup, but sometimes I still get confused when setting them up.

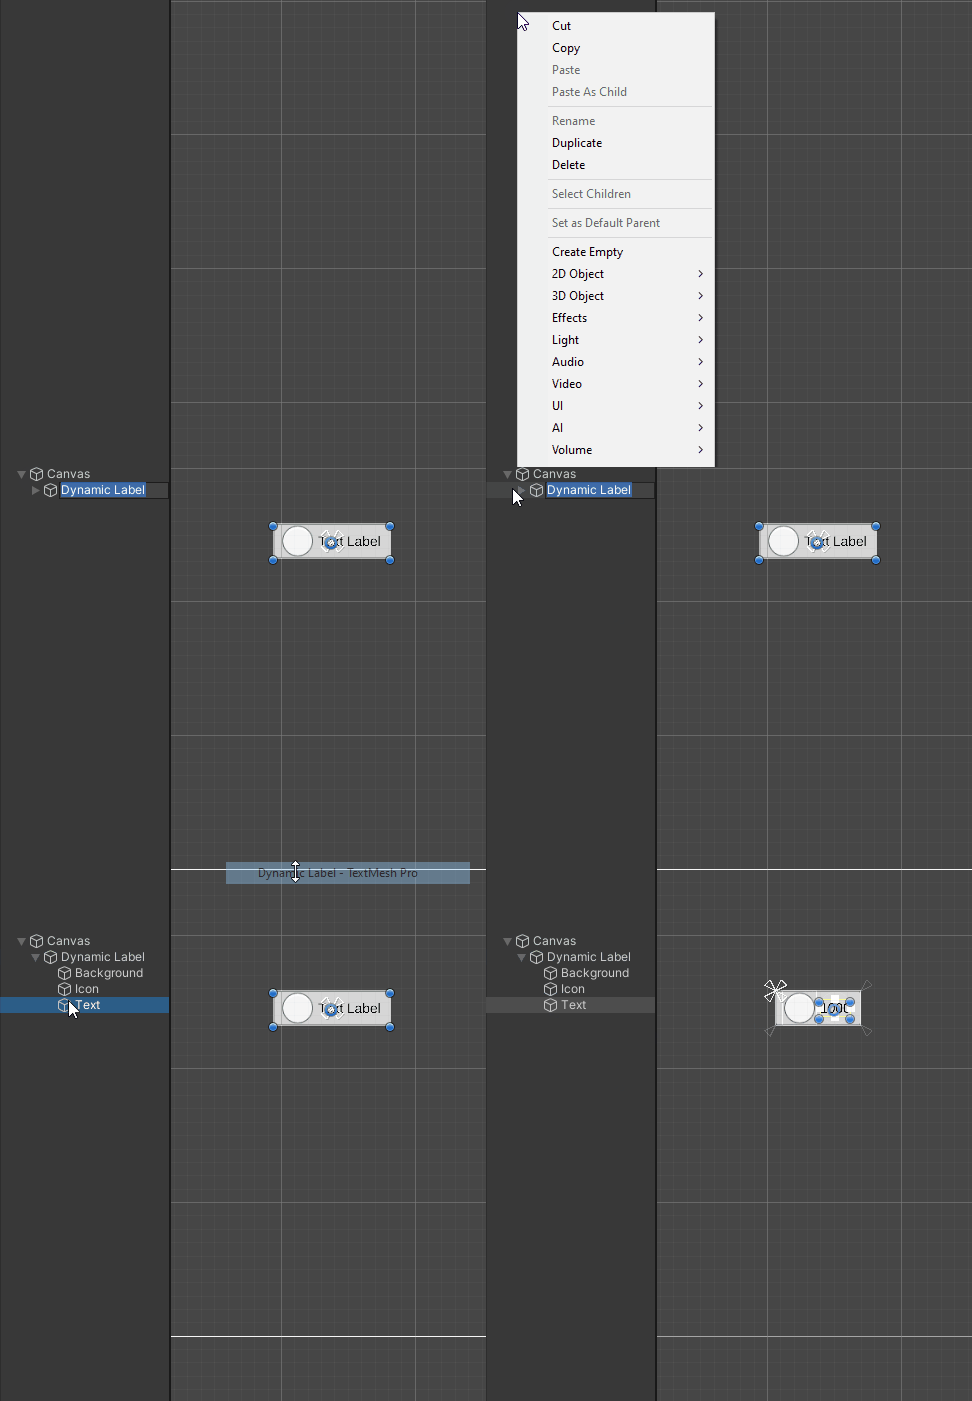
To stop suffering, while remembering which boolean are needed to be ticked and which component lies where – and also to help other artists to work faster and be happier and have an overall better quality of life…, let’s create a [MenuItem] to directly create the whole setup within the Hierarchy panel, so we never need to bother again and can focus on the beautiful things in life, like just applying some swag to that thing and make it look pretty.

Let’s create a new Script within an Editor Folder – these kind of scripts need to be located within an Editor-Folder structure, that is important, else you will run into exceptions when building your game.
Assets/…/Editor/DynamicLabelCreator.cs
We need to add some namespaces first, we want to create UI, it is going to be an Editorscript and we need TextMesh Pro for the text label, because why go back to richtext, when we have seen the light 🙌
Here we go namespaces:
using UnityEngine.UI;
using UnityEditor;
using TMPro;
Also lets exchange MonoBehaviour with Editor
public class DynamicLabelCreator : Editor
{
//…
}
…just remove the stuff that Unity generates by default, we are not going to use that, instead let us create a new method and lets also add in that go our menu item attribute
[MenuItem("GameObject/UI/Dynamic Label - TextMesh Pro")]
private static void CreateDynamicLabel()
{
//…
}
We need some references, let us add those, it also helps to keep an overview of what we still might need and reminds of of what is needed. So let’s quickly talk about what exactly we want to create and how such Dynamic Label is setup:
- We need a parent object with a horizontal layout group and a content size fitter, that combination will make it nicely dynamic.
- We might want a background image that resizes with the content.
- Of course we need an icon, so that will be another image component
- And a TextMeshProUGUI.. for the text part of the label
That makes 4 GameObjects in total.
[MenuItem("GameObject/UI/Dynamic Label - TextMesh Pro")]
private static void CreateDynamicLabel()
{
  GameObject dynamicLabel; // this is going to be our momma object <3
  GameObject background;
  GameObject icon;
  GameObject labelText;
}
Ok we need to create several new GameObjects() and a bunch of components.
Let’s start with the plain GameObject, so that we can fill it with components and parent their transforms to each other.
private static GameObject CreateEmpty(string name, Transform parent, bool root)
{
  GameObject go = new GameObject(name);

  go.transform.SetParent(parent);

  // Reset Position and stuff, just to be sure… maybe lets create a method for this later as well :D
  go.transform.localPosition = Vector3.zero;
  go.transform.localRotation = Quaternion.identity;
  go.transform.localScale = Vector3.one;

  go.AddComponent<RectTransform>();

  return go;
}
Now, we we’ll actually create those empty objects and assign them to our previously created references.
[MenuItem("GameObject/UI/Dynamic Label - TextMesh Pro")]
private static void CreateDynamicLabel()
{
    GameObject dynamicLabel;
    GameObject background;
    GameObject icon;
    GameObject labelText;

    //Todo: Make sure things get created within a Canvas Object


    dynamicLabel = CreateEmpty("Dynamic Label", Selection.activeTransform);
    background = CreateEmpty("Background", dynamicLabel.transform);
    icon = CreateEmpty("Icon", dynamicLabel.transform);
    labelText = CreateEmpty("Text", dynamicLabel.transform);
}
Let’s test that stuff quickly, before heading on with adding all those extra components.
Next we are going to add the components, let’s start with the easy stuff first. We need two Image components for our setup, we don’t need it to be clickable so we directly can turn raycast target off and for the background we need it stretched.
private static void AddImage(GameObject go)
{
    Image img = go.AddComponent<Image>();
    img.raycastTarget = false;
}
And to stretch the RectTransform we can use this:
private static void StretchRectTransform(RectTransform r)
{
    r.anchorMin = Vector2.zero;
    r.anchorMax = Vector2.one;
    r.offsetMin = Vector2.zero;
    r.offsetMax = Vector2.zero;
}
Let’s also quickly add the text for the label with some settings that give a nice start for our component-rig.
private static void AddText(GameObject go)
{
    TextMeshProUGUI t = go.AddComponent<TextMeshProUGUI>();
    t.text = "Text Label";
    t.fontSize = 40;
    t.alignment = TextAlignmentOptions.Midline;
    t.color = Color.black;
    t.enableWordWrapping = false;
    t.raycastTarget = false;
}
Ok, let’s add this to the main method and check out how it looks.
...
dynamicLabel = CreateEmpty("Dynamic Label", Selection.activeTransform);

background = CreateEmpty("Background", dynamicLabel.transform);
StretchRectTransform(background.transform as RectTransform);
AddImage(background);

icon = CreateEmpty("Icon", dynamicLabel.transform);
AddImage(icon);

labelText = CreateEmpty("Text", dynamicLabel.transform);
AddText(labelText);
...
We cannot see the if both images are displayed because currently they just sit on each other with a perfect fit, even though we changed the anchors of the background.
We are getting closer of finishing the script and will now get to the part where the magic happens. There are three components missing.
As we are going to use autolayouting, let’s start with the layout element component first. I am going to create two methods for that, one that just ignores the layout, and one for passing some values.
private static void AddLayoutElement(GameObject go, bool ignore)
{
    LayoutElement le = go.AddComponent<LayoutElement>();
    le.ignoreLayout = ignore;
}

private static void AddLayoutElement(GameObject go, float minW, float minH, float prefW, float prefH, float flexW, float flexH)
{
    LayoutElement le = go.AddComponent<LayoutElement>();

    le.minWidth = minW;
    le.minHeight = minH;

    le.preferredWidth = prefW;
    le.preferredHeight = prefH;

    le.flexibleWidth = flexW;
    le.flexibleHeight = flexH;
}
I rarely use layout priority so I skip that one, we will only really use 2 values of the second variant of that method anyway, but my OCD kicked – not enough for the priority thing but still.
So the background will use the method that can ignore the layout and the icon as the text will have the other ones. There is a funny thing about accessing these values by code, because even though it looks like a bool is used to enable them, there is no way to access this toggle by code. You might have noticed that my method simply assumes its enabled, and that’s how it is done. Now what we need to do to disable the values we don’t need, because we cannot simply just put 0 in there, as this would result un a completely different behaviour. Instead we need to put -1 as value for those we don’t need, this will disable the value entirely – and that’s what we are going to do now.
...
dynamicLabel = CreateEmpty("Dynamic Label", Selection.activeTransform);

background = CreateEmpty("Background", dynamicLabel.transform);
StretchRectTransform(background.transform as RectTransform);
AddImage(background);
AddLayoutElement(background, true);

icon = CreateEmpty("Icon", dynamicLabel.transform);
AddImage(icon);
AddLayoutElement(icon,-1,80,100,-1,-1,-1);

labelText = CreateEmpty("Text", dynamicLabel.transform);
AddText(labelText);
AddLayoutElement(labelText,-1,-1,-1,-1,-1,-1);
...
Now the real magic happens. We are going to add the Horizontal Layout Group and a Content Size Fitter to the dynamicLabel GameObject. For the sake of finishing this script I will suppress my OCD and just add the values we eventually need.
private static void AddHorizontalLayoutGroup(GameObject go, RectOffset offset, float spacing)
{
    HorizontalLayoutGroup hlg = go.AddComponent<HorizontalLayoutGroup>();
    hlg.padding = offset;
    hlg.spacing = spacing;

    hlg.childAlignment = TextAnchor.MiddleLeft;
    hlg.childControlWidth = true;
    hlg.childScaleWidth = false;
    hlg.childScaleHeight = false;
    hlg.childForceExpandWidth = false;
    hlg.childForceExpandHeight = false;
}

private static void AddContentSizeFitter(GameObject go, ContentSizeFitter.FitMode hor, ContentSizeFitter.FitMode ver)
{
    ContentSizeFitter csf = go.AddComponent<ContentSizeFitter>();
    csf.horizontalFit = hor;
    csf.verticalFit = ver;
}
And again add it to the main function.
dynamicLabel = CreateEmpty("Dynamic Label", Selection.activeTransform);
AddHorizontalLayoutGroup(dynamicLabel,new RectOffset(20, 30, 5, 5),10);
AddContentSizeFitter(dynamicLabel, ContentSizeFitter.FitMode.PreferredSize, ContentSizeFitter.FitMode.Unconstrained);
I changed the color of the icon manually so it can be seen.
But to make it better let’s add some default sprites to make it easily visible straight away.
background = CreateEmpty("Background", dynamicLabel.transform);
StretchRectTransform(background.transform as RectTransform);
AddImage(background);
AddLayoutElement(background, true);
background.GetComponent<Image>().sprite = AssetDatabase.GetBuiltinExtraResource<Sprite> ("UI/Skin/Background.psd");
background.GetComponent<Image>().type = Image.Type.Sliced;

icon = CreateEmpty("Icon", dynamicLabel.transform);
AddImage(icon);
AddLayoutElement(icon,-1,80,100,-1,-1,-1);
icon.GetComponent<Image>().sprite = AssetDatabase.GetBuiltinExtraResource<Sprite> ("UI/Skin/Knob.psd");
And done.


Thank you this was exactly what I was looking for!!